As an Amazon Associate, I earn from qualifying purchases, at no cost to you.
Skin fades are one of the more challenging skills to master. Here are a few tips from a pro. Break it down into sections and blend the lines.
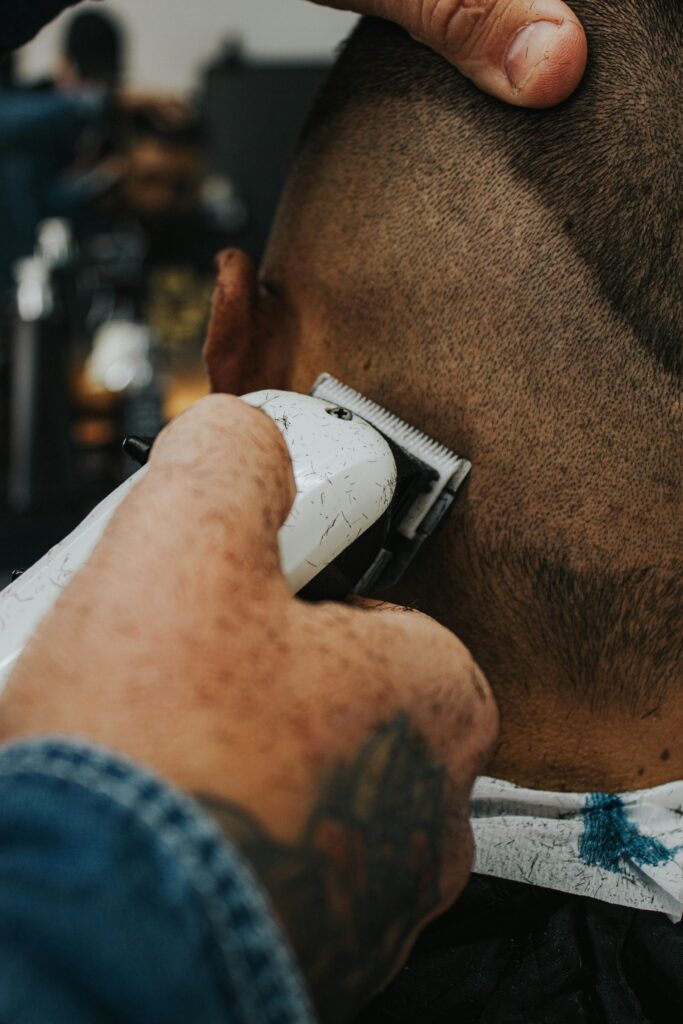
- Cut the top first. Set the length where you want it, don’t worry too much about fading the edge of it just yet.
- Use a #2 guard with your blades in the closed position (not all clippers have adjustable blades) and cut from the nape all the way up to where you want to fade into the longer top portion.
- Take the guard off, no guard, with clippers still in the closed position and cut from the nape to about the occipital or just above. (yes, you will have a line)
- Then put a #1 guard on your clippers and use that to fade the line between your no guard section and your #2 section. The clipper blades are still in the closed position. Be sure not to go too far up. You don’t want to completely go over the top of your #2 section. (This part is negotiable, you could forgo the #2 altogether and just use the #1 in its place.
- Take the guard off your clippers again, this time with the blade in the fully open position (or use a .5 or half guard if you have one), now blend the line between the no guard closed (the bottom), and the #1 section.
Taking this skin fade down in sections and blending the line a little at a time will teach you to see the line and be able to fade it smoothly without any gouges or fading too high to start with, making it even more challenging to fix.
You can fine-tune any unevenness with scissors over comb.
As an Amazon Associate, I earn from qualifying purchases, at no cost to you.
There are several quality brands of clippers on the market. I find the Wahl and Oster brands to be a good price to quality. You will want 3 sizes of clippers to tackle everything from bulk to details. Here I have linked a duo set that is cordless, rechargeable, and has multi-colored guards. It makes it so much easier to find the exact guard you want at a glance. Wahl Duo Clippers
This link is for the Wahl Micro Detailer that I use every day. *NOTE These micro trimmers do NOT tolerate hitting the floor. They will explode into at least 6 tiny pieces. All the kings’ horses and all the kings’ men cannot put them back together again. I’ve tried to play Trimmer Repair Guy many, many times and failed at them all. I just buy a new pair. Thank God for Amazon.
As a professional, The Wahl brand micro trimmer is the only one that I have found that is strong enough to not pull hair, or stop with hair stuck between the teeth. The lithium battery is worth its weight in gold. A standard battery will work but won’t have nearly as long of life.
Feel free to comment or ask any questions in the form below. And before you go, here is another staple haircut broken down into easy steps. 5 STEPS TO THE BASIC HAIRCUT
Here are my social media links, you are welcome to share 🙂 Facebook, X (twitter), Instagram, TikTok, and Pinterest
Leave a Reply